Regular price
Rp 123.000,00 IDR
Sale price
Rp 10.000,00 IDR
Unit price/ per
Sale
MInimal Depo
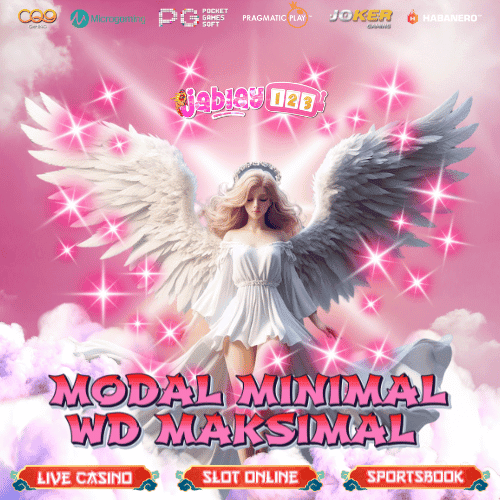
Selamat datang pada platform bermain taruhan online resmi berlisensi hanya Jablay123. Jika kamu telah mengunjungi website taruhan online Jablay123, selamat! kamu memilih situs yang tepat sekali untuk bertaruh dan menjadi bagian dalam situs taruhan online Jablay123. Ada beberapa alasan mengapa kami yakin bahwa pilihanmu adalah yang terbaik, karena Sejauh ini hanya situs Jablay123 yang telah memberikan peluang kemenangan besar dan juga telah memberikan total kemenangan di tahun ini mencapai angka ( 2,7 Triliun). Dengan begitu, kami telah menjadi agen judi online dengan platform resmi berlisensi dapat anda mainkan karena kemenangan terjamin bersama situs Jablay123.
Tidak seperti jaman dahulu, Kini kamu dapat mencari penghasilan maupun keuntungan hanya dengan bermodalkan Gadget saja seperti handphone maupun Laptop dan sejumlah saldo digital sebanyak Rp.10.000,00 saja sesuai dengan minimun transaksi pada situs Jablay123. Dengan begitu, saat ini kamu telah dapat mencari peluang keuntungan mulai dari rausan ribu sampai jutaan rupiah bersama situs taruhan online Jablay123. Ada alasan mengapa kamu harus memilih platform bermain taruhan online di website Jablay123 yakni memiliki akses website mudah dan cepat, kamu hanya perlu membuka mesin pencarian pada gadget anda dan ketik "jablay123" kamu akan mendapati akses website kami pada rank pertama di hasil pencarian. ketika kamu mengkliknya kamu akan diarahkan pada menu daftar sehingga membuat situs taruhan online jablay123 memiliki akses mudah dan cepat pada platform nya.